Wednesday, December 21, 2016

New things for the roaddog on going challenge

So it looks like I burned out the ceramic heating element on my e3d hot-end extruder.  Going from the color code of the wire I have a 25watt heating element installed.  Measuring the voltage at the wire terminals at the rapps board I get 12vdc which is correct.  This should heat the hot-end nozzle to at lease 220C but I can't get past 160C and repetier then generates an error.  I have not eliminated the thermistor as the possible problem.  I went into the Marlin and re-set the thermistor to another value just to see if it would have and effect.  It did so I went from a 100k value to a 10k value and repetier read the extruder temperature as being higher than it was.  So the thermistor could still be the problem so I ordered a new one.


I also ordered a new aluminum build plate

Mercurry Aluminum Anodized Heated Build Plate Short kit for RepRap 3D Printer


and a blower for the filament

DC 12V 0.15A 2 Pin Connector Cooling Blower Fan 50mmx15mm for Laptop Black

Sunday, December 11, 2016

Now printing spirographs on the new roaddog 3d printer.


Tuesday, December 6, 2016

Sunday, December 4, 2016

I found a mechanical problem in my frame build that required that I disassemble the frame and turn around the base plate.  The Y-belt was rubbing.  It took 2 hours take it apart and put it back together correctly.  Next, I started new Marlin program since the one I had was an older version.  3 hours.  Next I setup my extruder hotend and extruded some purple PLA.  The hotend works great.  220C quick!  The PID needs to be run the bed takes forever to heat up.  Also, I solved the x-axis end stop problem.  See the attached picture.


Lots of little things to do calibrations, (get the display to work--2 hours on that).

Monday, November 28, 2016

Yesterday was a long day with the printer.  I arrived at the lab at 10:00am and started working on the printer.  First I took the latest Marlin program I had already modified for the PIII, 
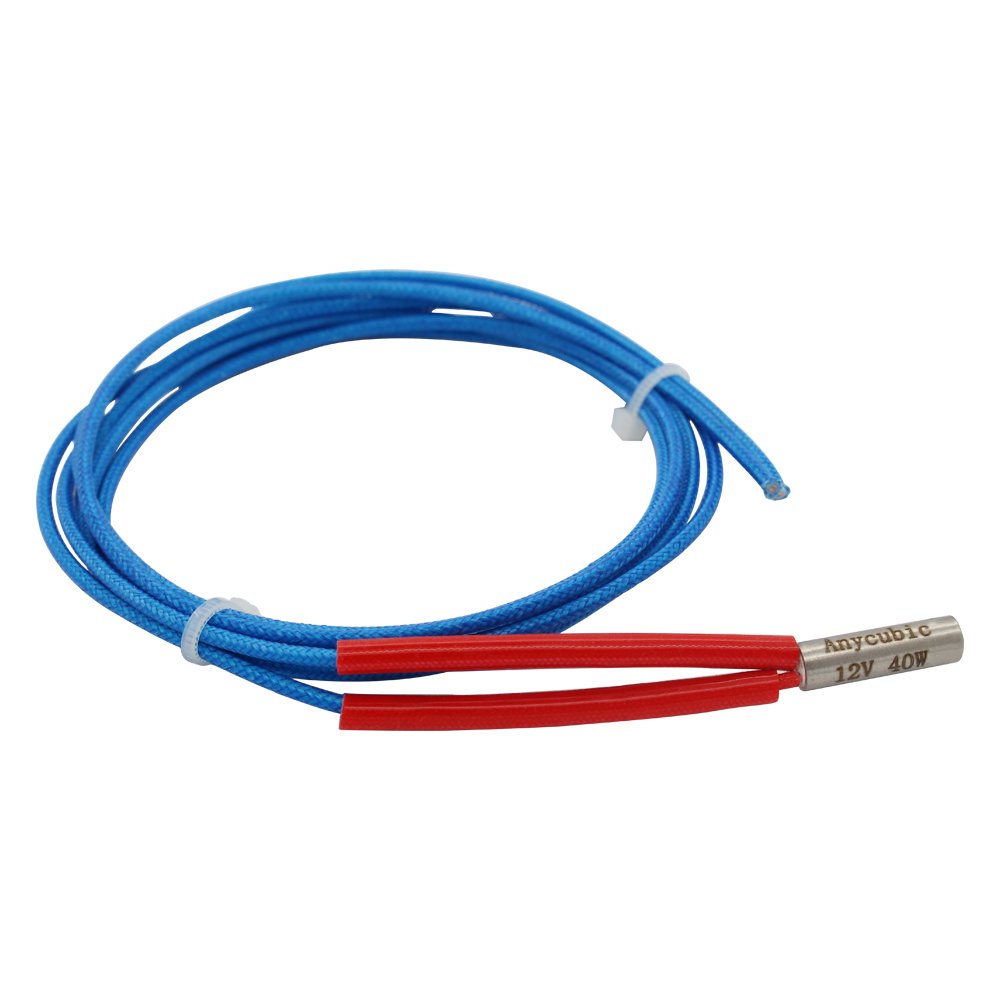
compiled it and uploaded it to the Arduino.  I open repetier host and tried to heat the bed.  No luck, however, all the lights on the Arduino were functioning and the RAMPS board didn't have any issues.  Also, I was able to heat the extruder and get feedback temperature.  Something else was wrong.  Also, I was not able to move any of the stepper motors.  The Y-stepper had some chatter.  After hours of troubleshooting, I found that the Arduino was not plugged into the RAMPS properly.  Once I made that change everything started working as predicted.  Getting there was a trial of fire that also required a pound of flesh!

Next, the wires on all the stepper motors were sideways.  So I had to repopulate all of the connector housings.

So I was able to setup the z-axis and stops the x-axis and I'm in the process of setting up the y-axis.  It turns out that need to print a new motor bracket.  I left the lab at 11:30pm


Sunday, November 20, 2016

Programming the Arduino for my printer and for the school printer purple rain.  and I got the stepper motors to move on the purple rain printer.

I did not have a chance to work on my printer.  I did work on my spirograph model this weekend and plan to print something to show in class on Tuesday.


Without the power attached.
Happy day!


Thursday, November 17, 2016

Spirograph

So I'm working on Spirographs today so I can add something eye-catching to my printer frame.  I like the purple lines on the black background


These are fun to do however my goal is to print a 3d model of a Spirograph so I will need to start this process in  cad software like Rhino or AutoCAD then import it to a 3d modeling package like Inventor create a stl file and print it.

Sunday, November 13, 2016

All wired dot com

Yes as the title suggest I have fully wired my road dog which is a good thing.  Next, I need to do a "plugs out" test of the controller board to check to see if the display lights up.  Then I drop in the program.  Note I have not put the drive belts on yet but plan to after I test with all of the components plugged in.  I hope to have the printing this week! 

Note I have included a picture of my printers at home as well.


Sunday, November 6, 2016

Sunday wiring

Got the wiring very close to complete.  See the attached pictures.


Saturday, November 5, 2016

wiring and other printed parts

I substituted 16ga wire for the 14ga for the 12-volt wire going from the power supply to the controller board.  They fit nicely into 1/4" black plastic flexible conduit.  I printed a bracket for my display, however, the nozzle clogged so I need to reprint it tonite.  So the plan is to do all of the wiring tomorrow while monitoring (i.e.on both of the printers).

I leave you with this->

Tuesday, November 1, 2016

Road dog wiring progress

Road dog things completed;


  1. y-tensioner assembled 
  2. new heat bed glass
  3. assembled Arduino 
  4. assembled display box final
  5. all 3d parts are printed
  6. z-axis end switch assembled
  7. y-axis end switch assembled
Need to wire the hot end and heated bed.

Need to test and electronics then put on belts.

Saturday, October 29, 2016

Yesterday was a buying day for me here are some of things I purchased;


  • TPU 1.75mm filament orange
  • Klein strippers
  • (2) heated bed borosilicate glass
  • (2) 3d printing removal tool
  • Dupont crimping tool 
  • (100)0.1 mm gold plated connector
  • (25) 4p 0.1 mm housings
  • (20) silica gel packs
  • 3d printing tweezers
  • (1) 0.4mm cleaning nozzle bits
  • 150mm wide Kapton tape
  • wire mesh wiring conduit orange
  • HD document camera 
  • Laser engraver
I also worked on my 3d model of the frame for the roaddog printer.

This was rendered using Autodesk 360 render <10min.  I'm new to this program. 

Sunday, October 23, 2016

Worked on my roaddog 3d printer today and got a lot done;

  1.  Built the  rapps board
  2. Mounted the hot bed
  3. Mounted all the stepper motors
  4. Mounted the power supply
  5. Assembled the display enclosure
  6. All axis are functional.
  7. All rods are in place
  8. Started routing wires


Things to do:


  1. print end switch brackets
  2. mount end switches
  3. design display brackets
  4. laser etch spirograph
  5. place wire into the conduit
  6. program controller  
  7. cut hotbed glass
  8. I'm sure there will be other things


Saturday, October 22, 2016

I got all or most of my nuts and bolts from McMaster. I'm heading out to Menards in a few mins to get an organizer for said nuts and bolts plus look for some 3d printing bed springs.  The display cover for my roaddog is currently printing.  These came with the roaddog in black but I've decided to reprint in orange

.  

Wednesday, October 19, 2016

I finally got my smooth rods for my roaddog happy day.  No pictures to share, however, I will bring to class and work on it later today.  Also, I just found the Frankie wade extruder on yeggi via Thingiverse.  lots of orange parts have been printed and many more to come.  Thanks,

I leave you with this picture of the bookworm a person I hold dear to my heart

Aaron

Sunday, October 16, 2016

Well, my M5 z-rod finally made it.  1000mm it came in a box 1000 times larger than it needed to be.  I'm still waiting on my smooth rod. It back ordered for two suppliers.  Hopefully, it will be here next week then I can continuing working on the mechanical part of the printer.  Next, I'm looking at the small nuts and bolts. On another note I did bring my IIIP printer to the lab for monitoring and got some parts printed for Printz project printer.
 Cheers

aacjr

Wednesday, October 12, 2016

So I was thinking about what my roaddog 3d printer would print and starting looking and Rhino's Grasshopper.  The reason is because wanted to print a 3d spirograph.
  What I found is that Lynda.com has very good selection of tutorials that start you out at the beginning of Grasshopper.


https://www.youtube.com/watch?v=FhGG3ra2oiI
So have completed the frame to the point where I need to assemble the smooth rods, however, these rods are on backorder.


The plan was to print the remaining parts in orange PLA however I ran out of orange but I do have a new spool of transparent blue.  Also, I'm actively looking for display case to print.

I also plan to print a Parametric Cable Chain.


Lots of parts to print.

Sunday, October 9, 2016

printed printer parts for the roaddog build

I have started the printed parts process and used up all of orange PLA... not good I love that color.  Oh well, I have a new role transparent blue 1.75mm that can't wait to open the bag and print some parts.

Cheers

Thursday, October 6, 2016

Got my Melamine Frame Upgrade kit today and started building it at the lab at UWM.  I like what I saw.  It came packaged nicely however the rods were back ordered.  So I got the base put together and I will move on to the y-axis motor mount this evening.  I'm going to bring my own tools to the lab so I can work more efficiently.  Also, I plan to start some of my printed parts this evening.

Tuesday, October 4, 2016

So the plan is to build the Prusa I3 Rework Road Dog.

here is the frame.


Here is my extruder and all metal hot end.


Next part is to order the smooth rod from McMaster Carr.
Hardware.

I also have my RAMPs 1.4 board and other parts


And the power supply

Plus the (5) stepper motors.
US-Ship-5pcs-Nema-17-Stepper-Motor-Bipolar-84oz-in-59Ncm-4-lead-3D-Printer-CNC
Once I get all the parts in I'll assemble what I can and print the remaining plastic parts.